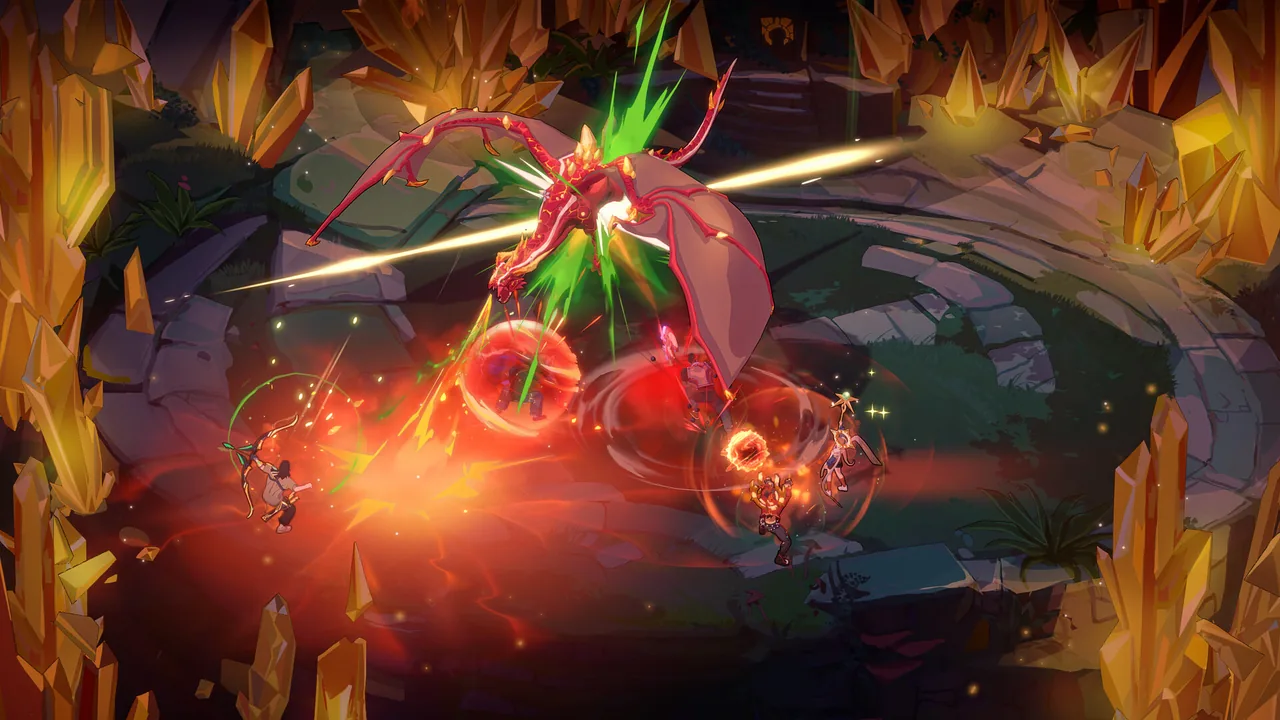
This guide maps the full 12-floor run sequence in the Guildrun demo, from early crossroads and Floor 5 minibosses to the three Floor 11 Act Boss dragons, trial encounters, and the Red Rift sealing contract. Browse the Rift overview, check individual Enemy entries, or review Event listings alongside the sections below.
Act Structure and Floor Nodes
In the demo campaign (Act1Entry), a single run spans two 6-floor chunks covering 12 floors from Floor 0 through Floor 11. In player-facing interfaces and patch notes, these two halves correspond to Act 1 (ending at Floor 5) and Act 2 (ending at Floor 11), while Patch 0.5.14 notes that the full game's closed beta will introduce a new 3-act structure.
After winning a combat, your guild enters the shop to spend  Shard currency on Heroes, items, and relics, and then picks its next route at the crossroads. Across a run,
Act1Entry sets roughly a one-third chance (0.3300018310546875) to roll a combat crossroads, capped at 1 fight crossroads per run.
| Floor | Chunk | Fight type | Crossroads and node role |
|---|---|---|---|
| 0 | 1 | Fixed (Turtle) | Fixed 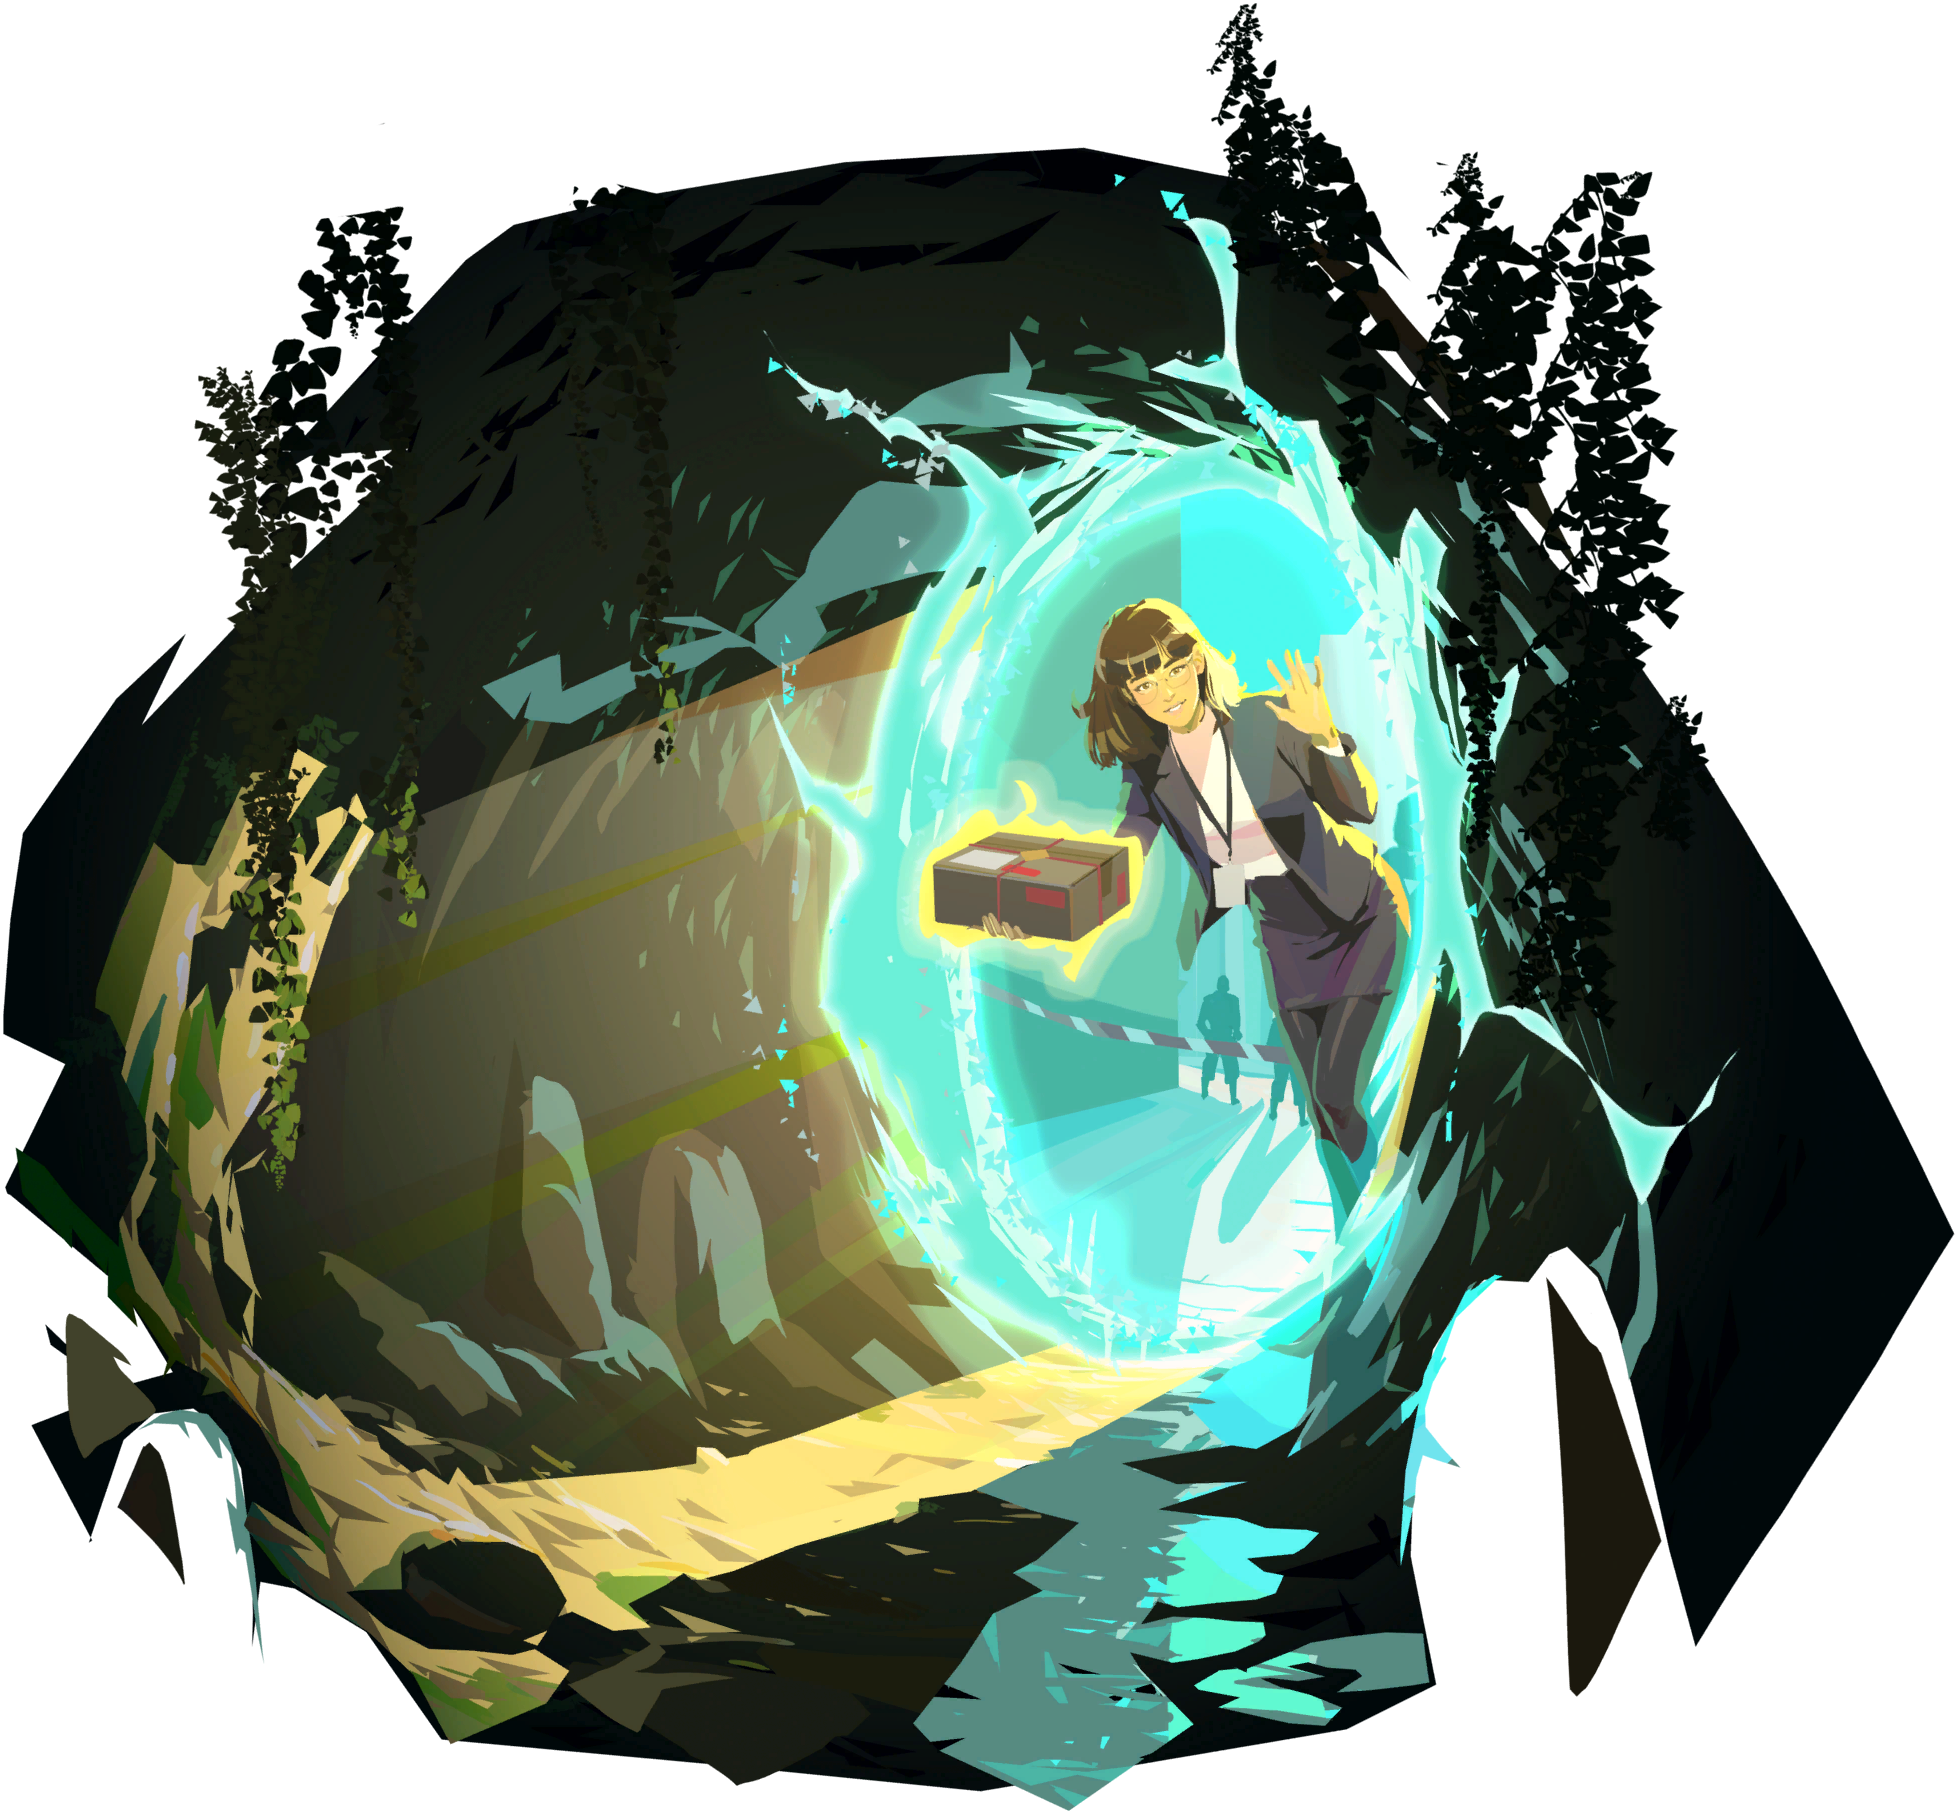 Starter Kit gift after the opening fight |
| 1 | 1 | Pooled | First Curated pool (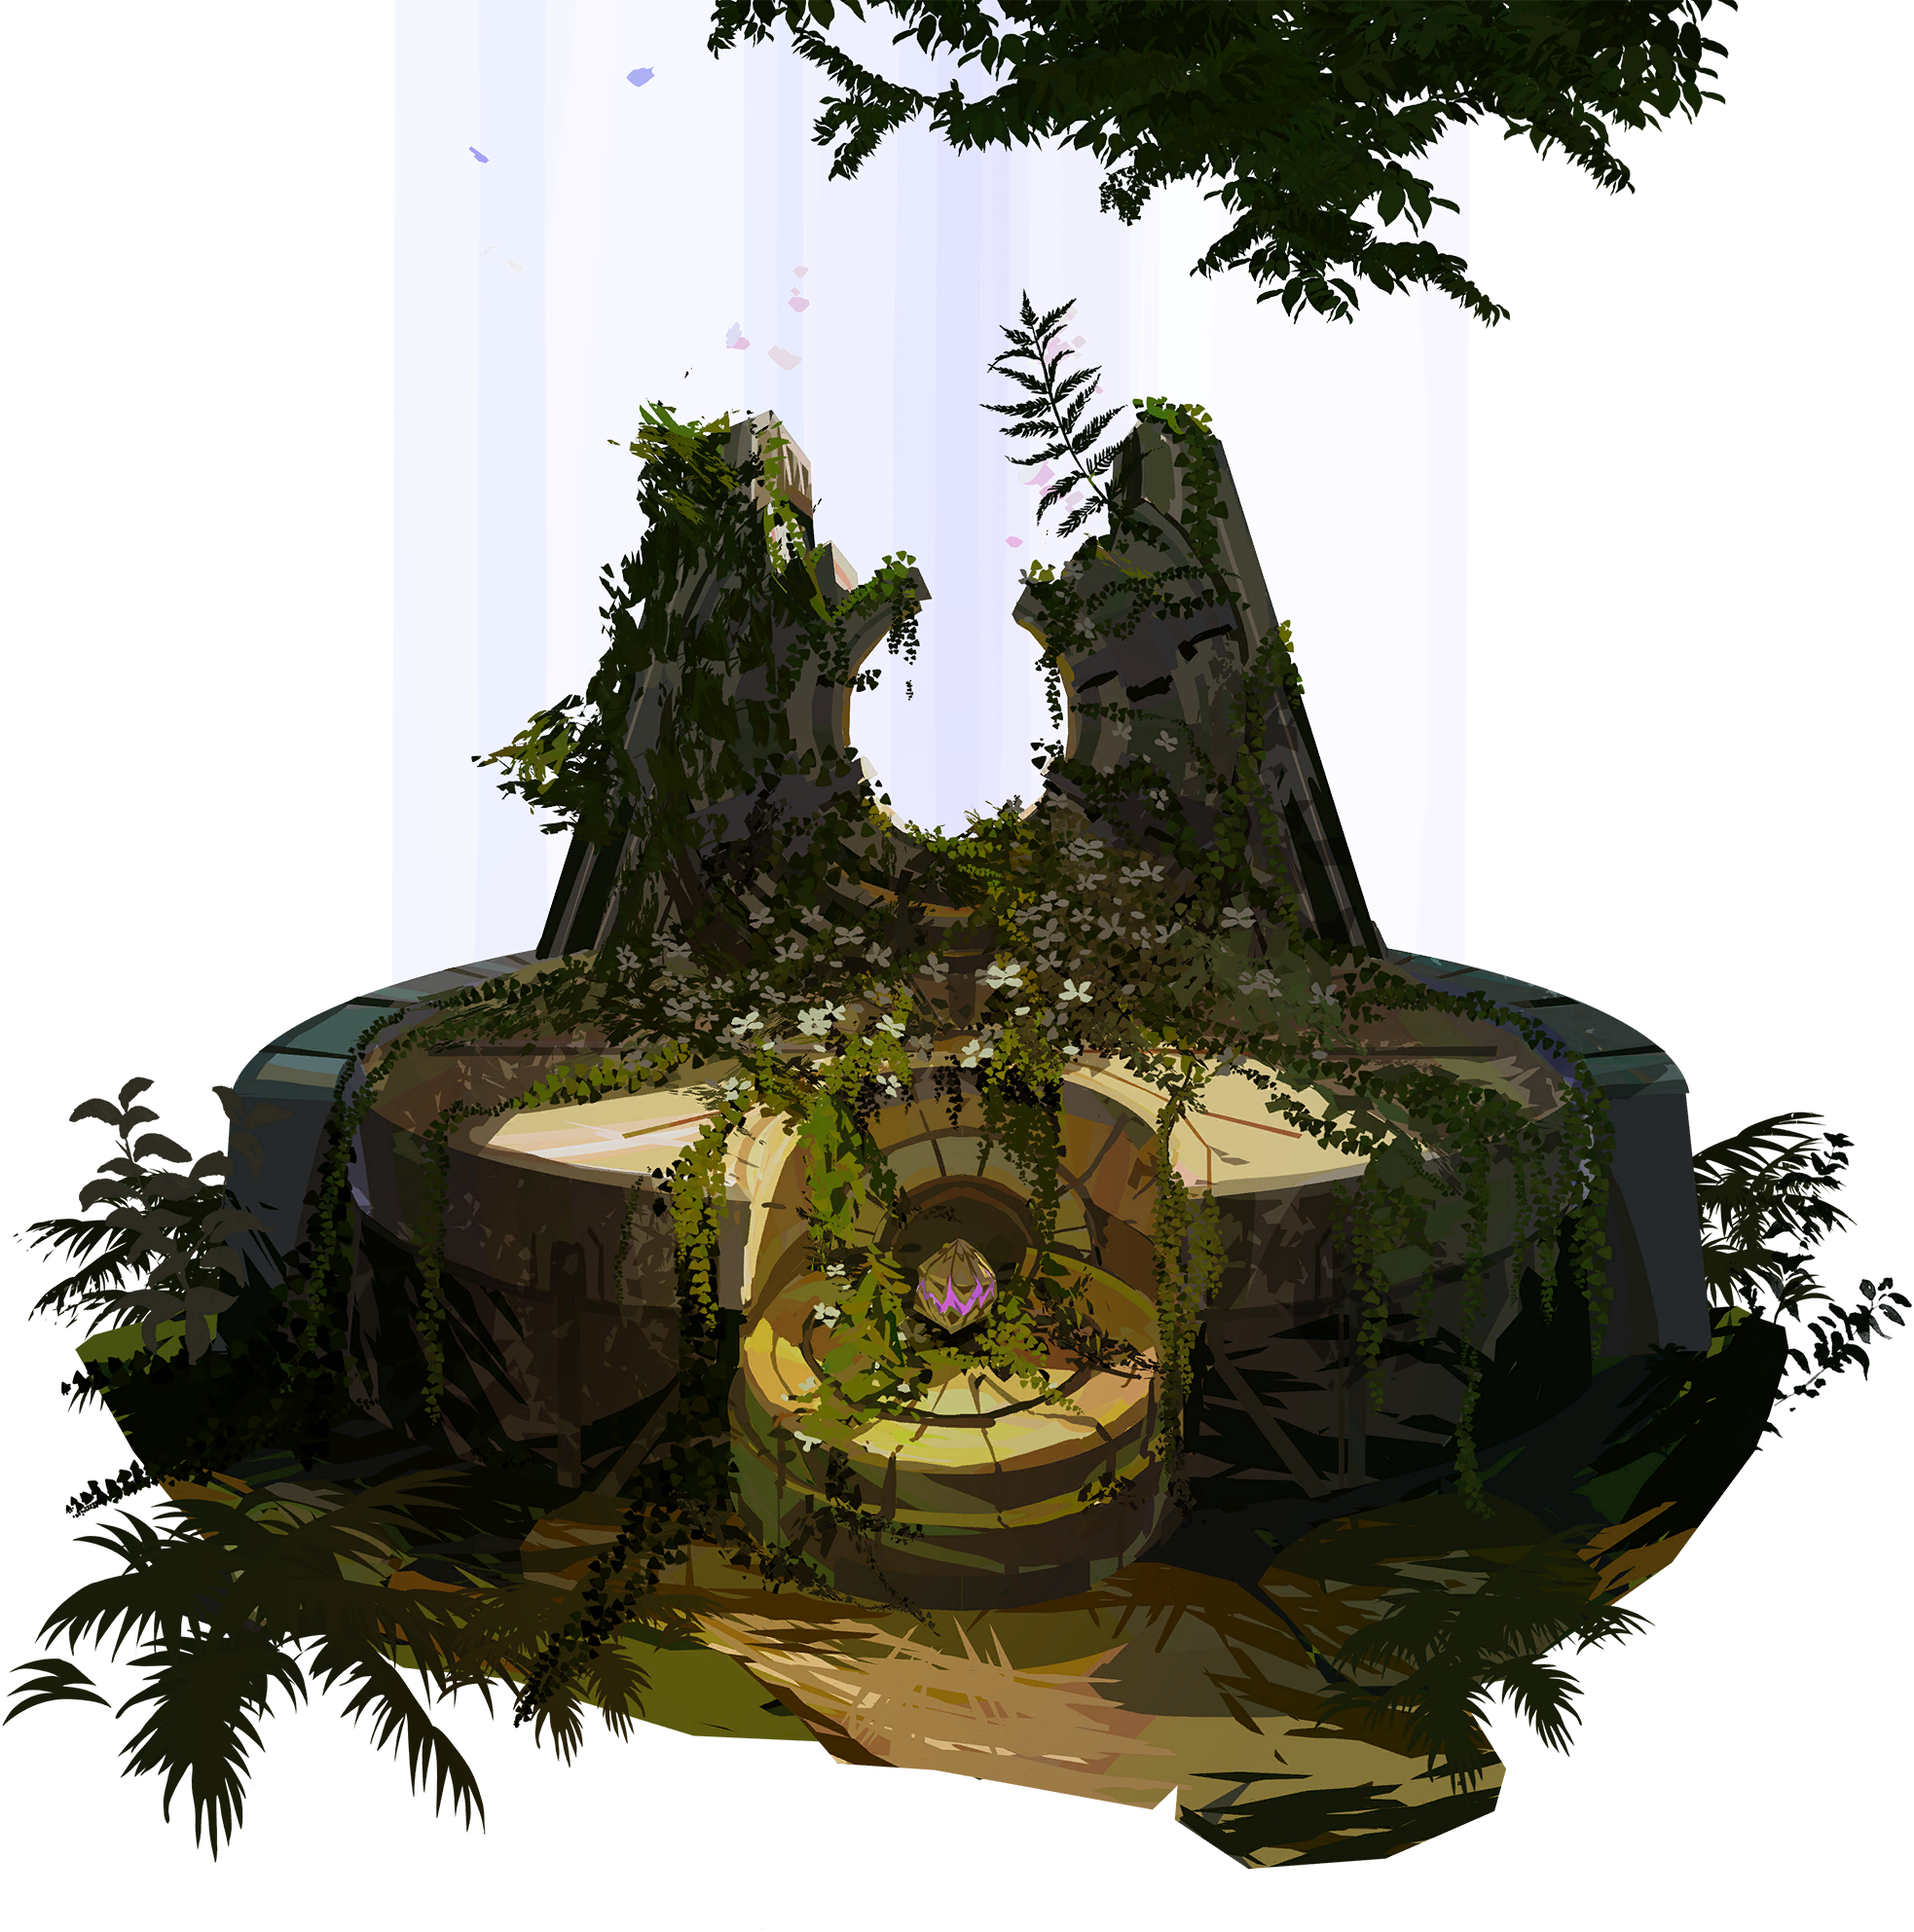 The Altar, 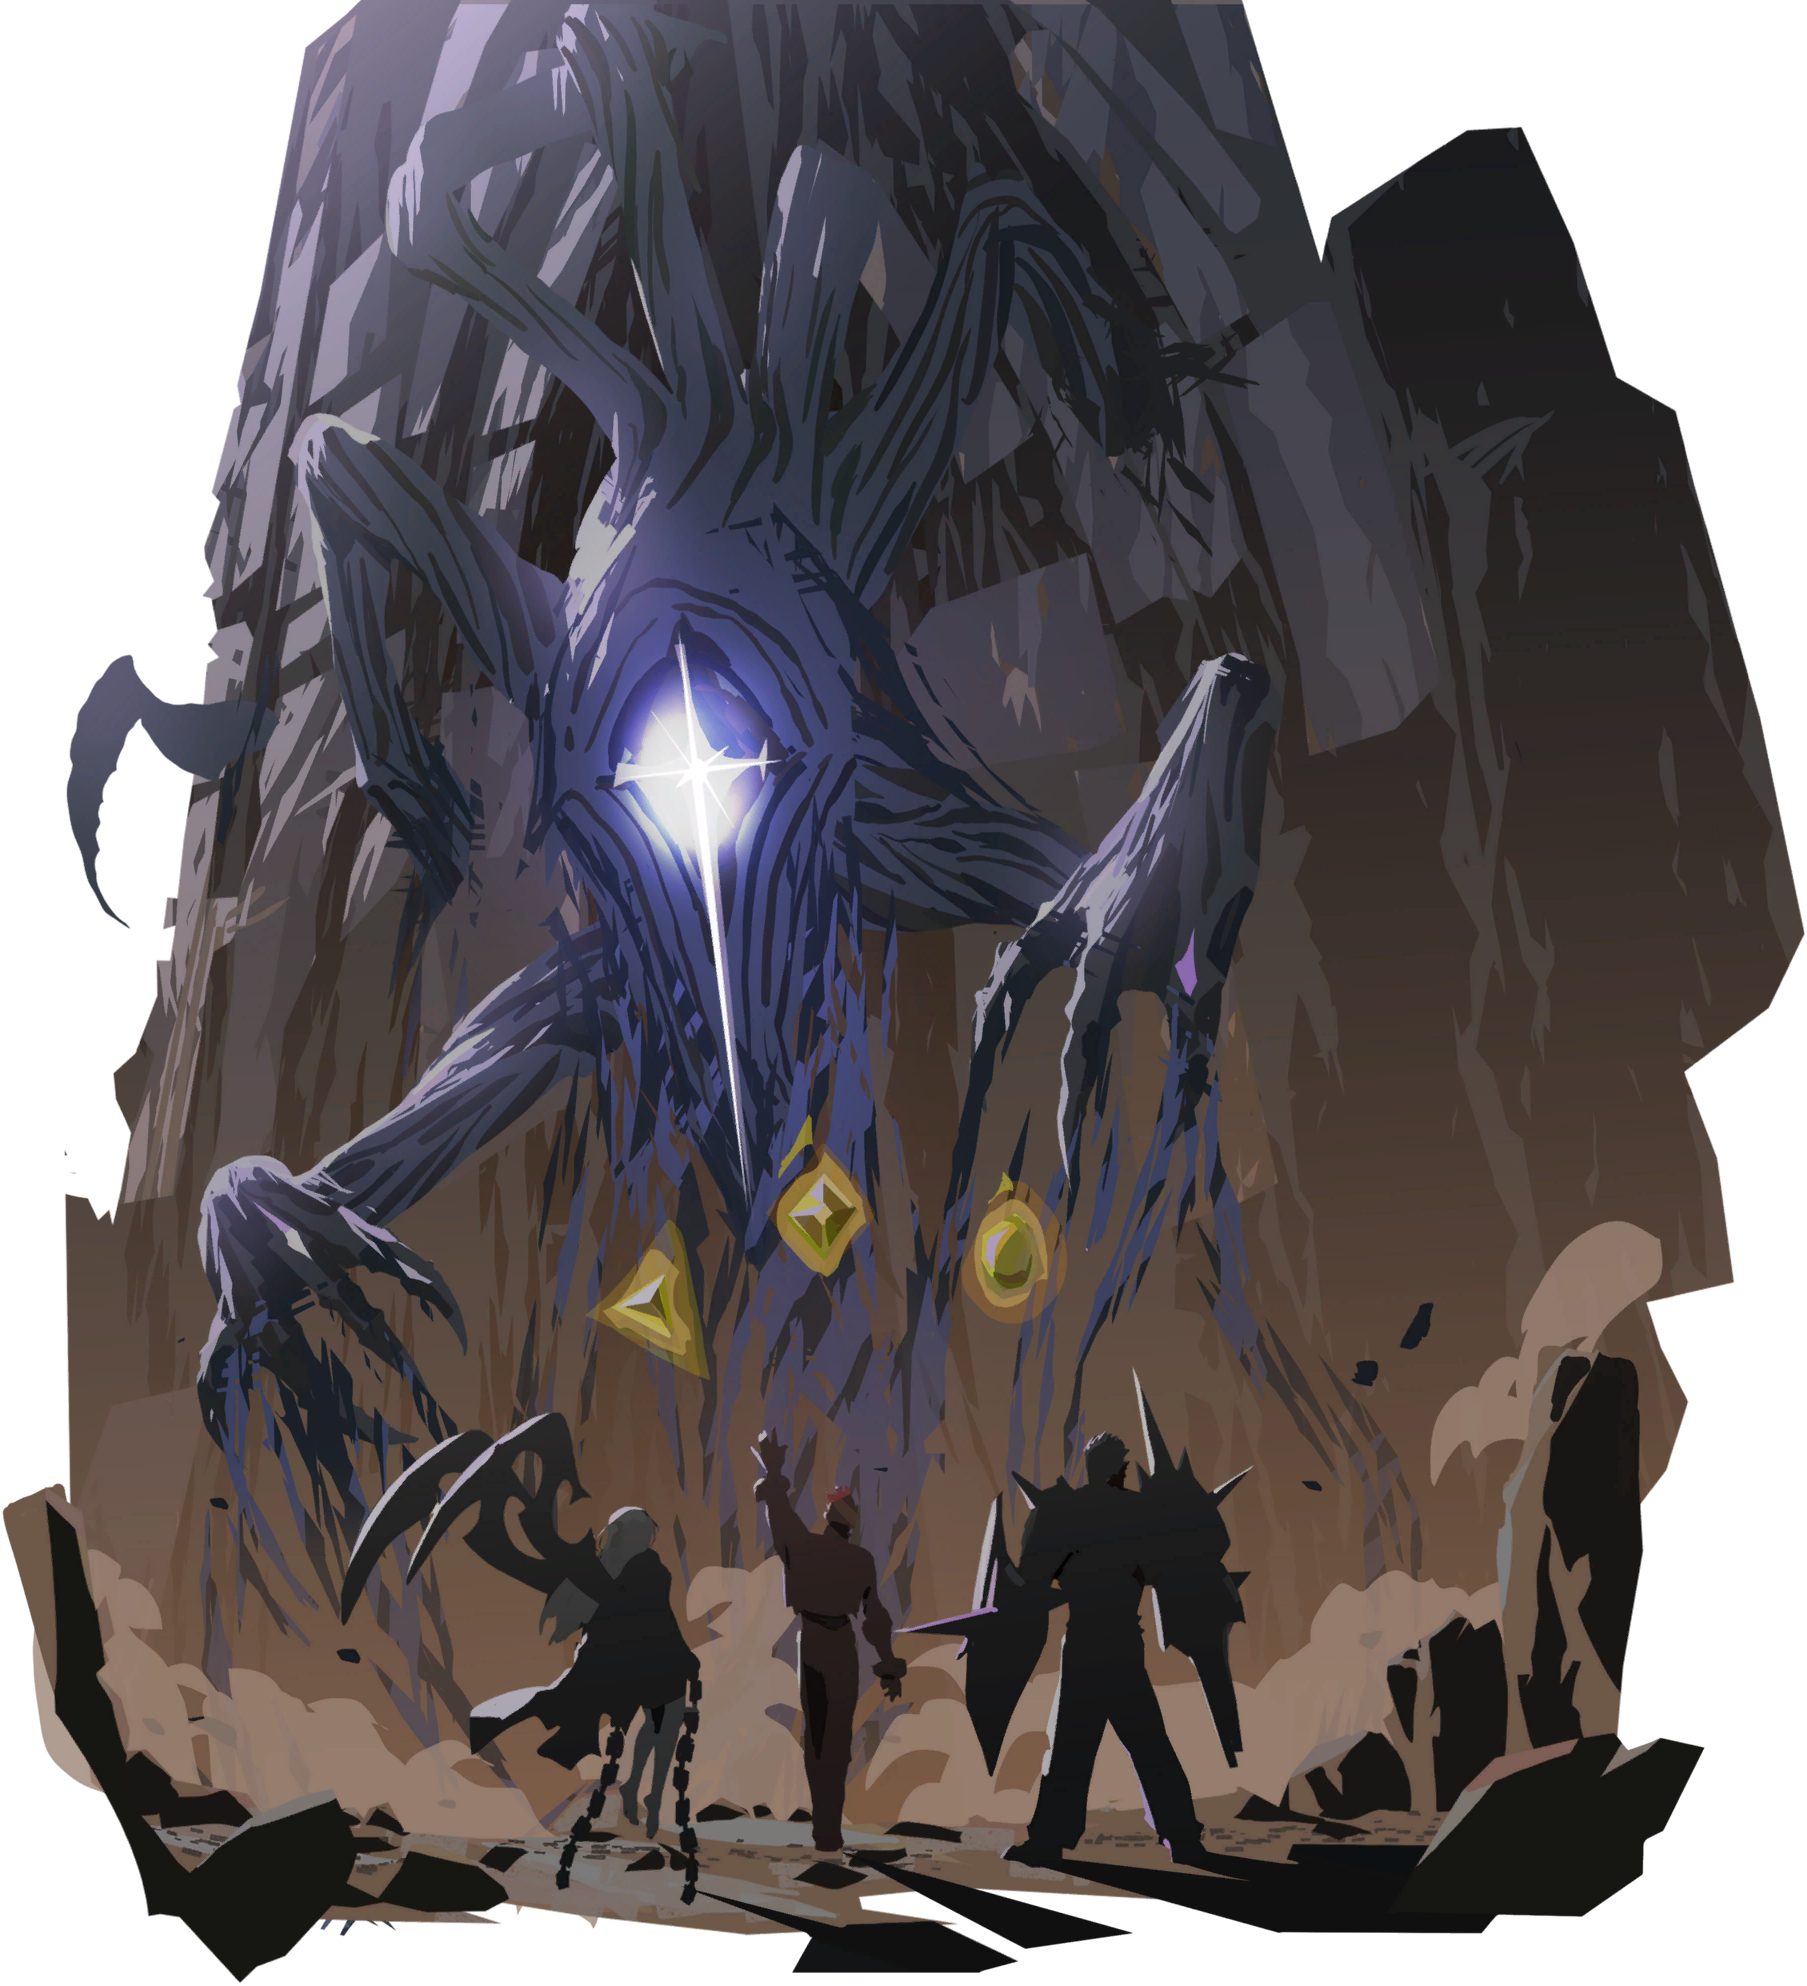 The Void Beast, and peers) or modifier choice |
| 2 | 1 | Pooled | Stage modifier choice (Elite 1 Enemy Relics vs Rare reward relics) |
| 3 | 1 | Pooled | Random 1 pool or combat event (Combat Event 1) |
| 4 | 1 | Pooled | Fixed  The Campfire ( First Campfire) |
| 5 | 1 | Pooled (MiniBoss) | No crossroads; Floor 5 miniboss (Demon or Hydra) |
| 6 | 2 | Pooled | Random 2 pool (The Void Beast and peers) or Combat Event 2 |
| 7 | 2 | Pooled | Stage modifier choice (Elite 2 Enemy Relics vs Epic reward relics) |
| 8 | 2 | Pooled | Fixed 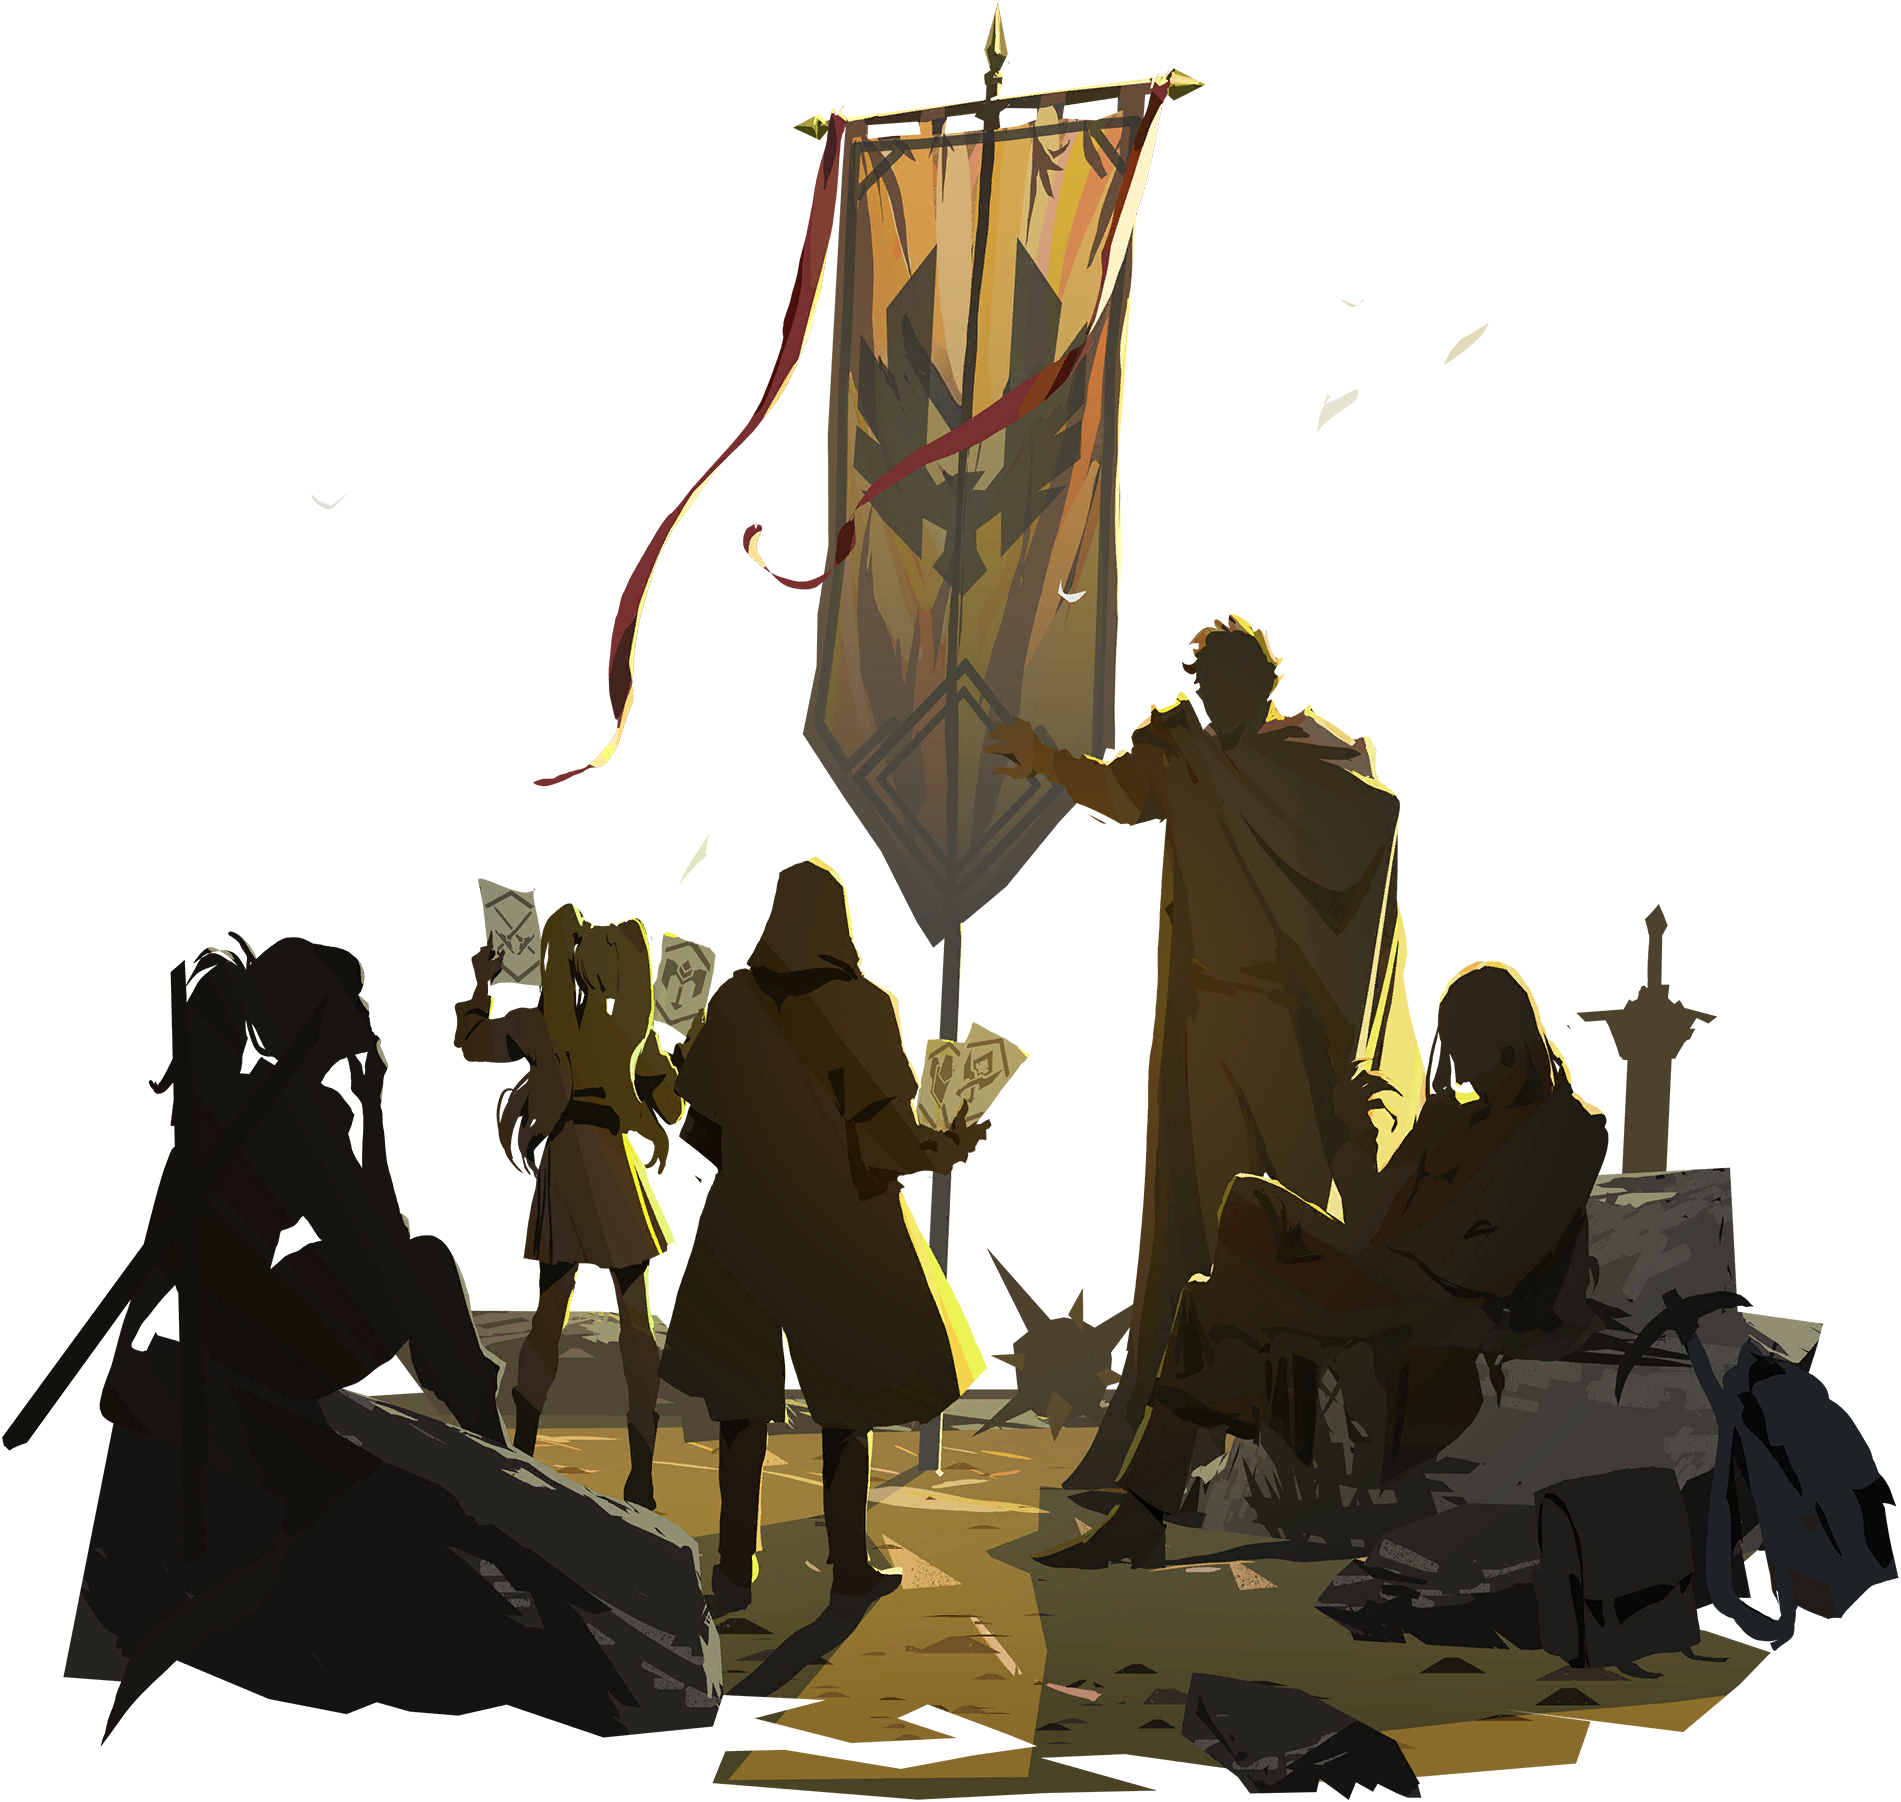 The Guild Banner or stage modifier choice ( Elite 2 Enemy Relics) |
| 9 | 2 | Pooled | Random 3 pool or Combat Event 3 (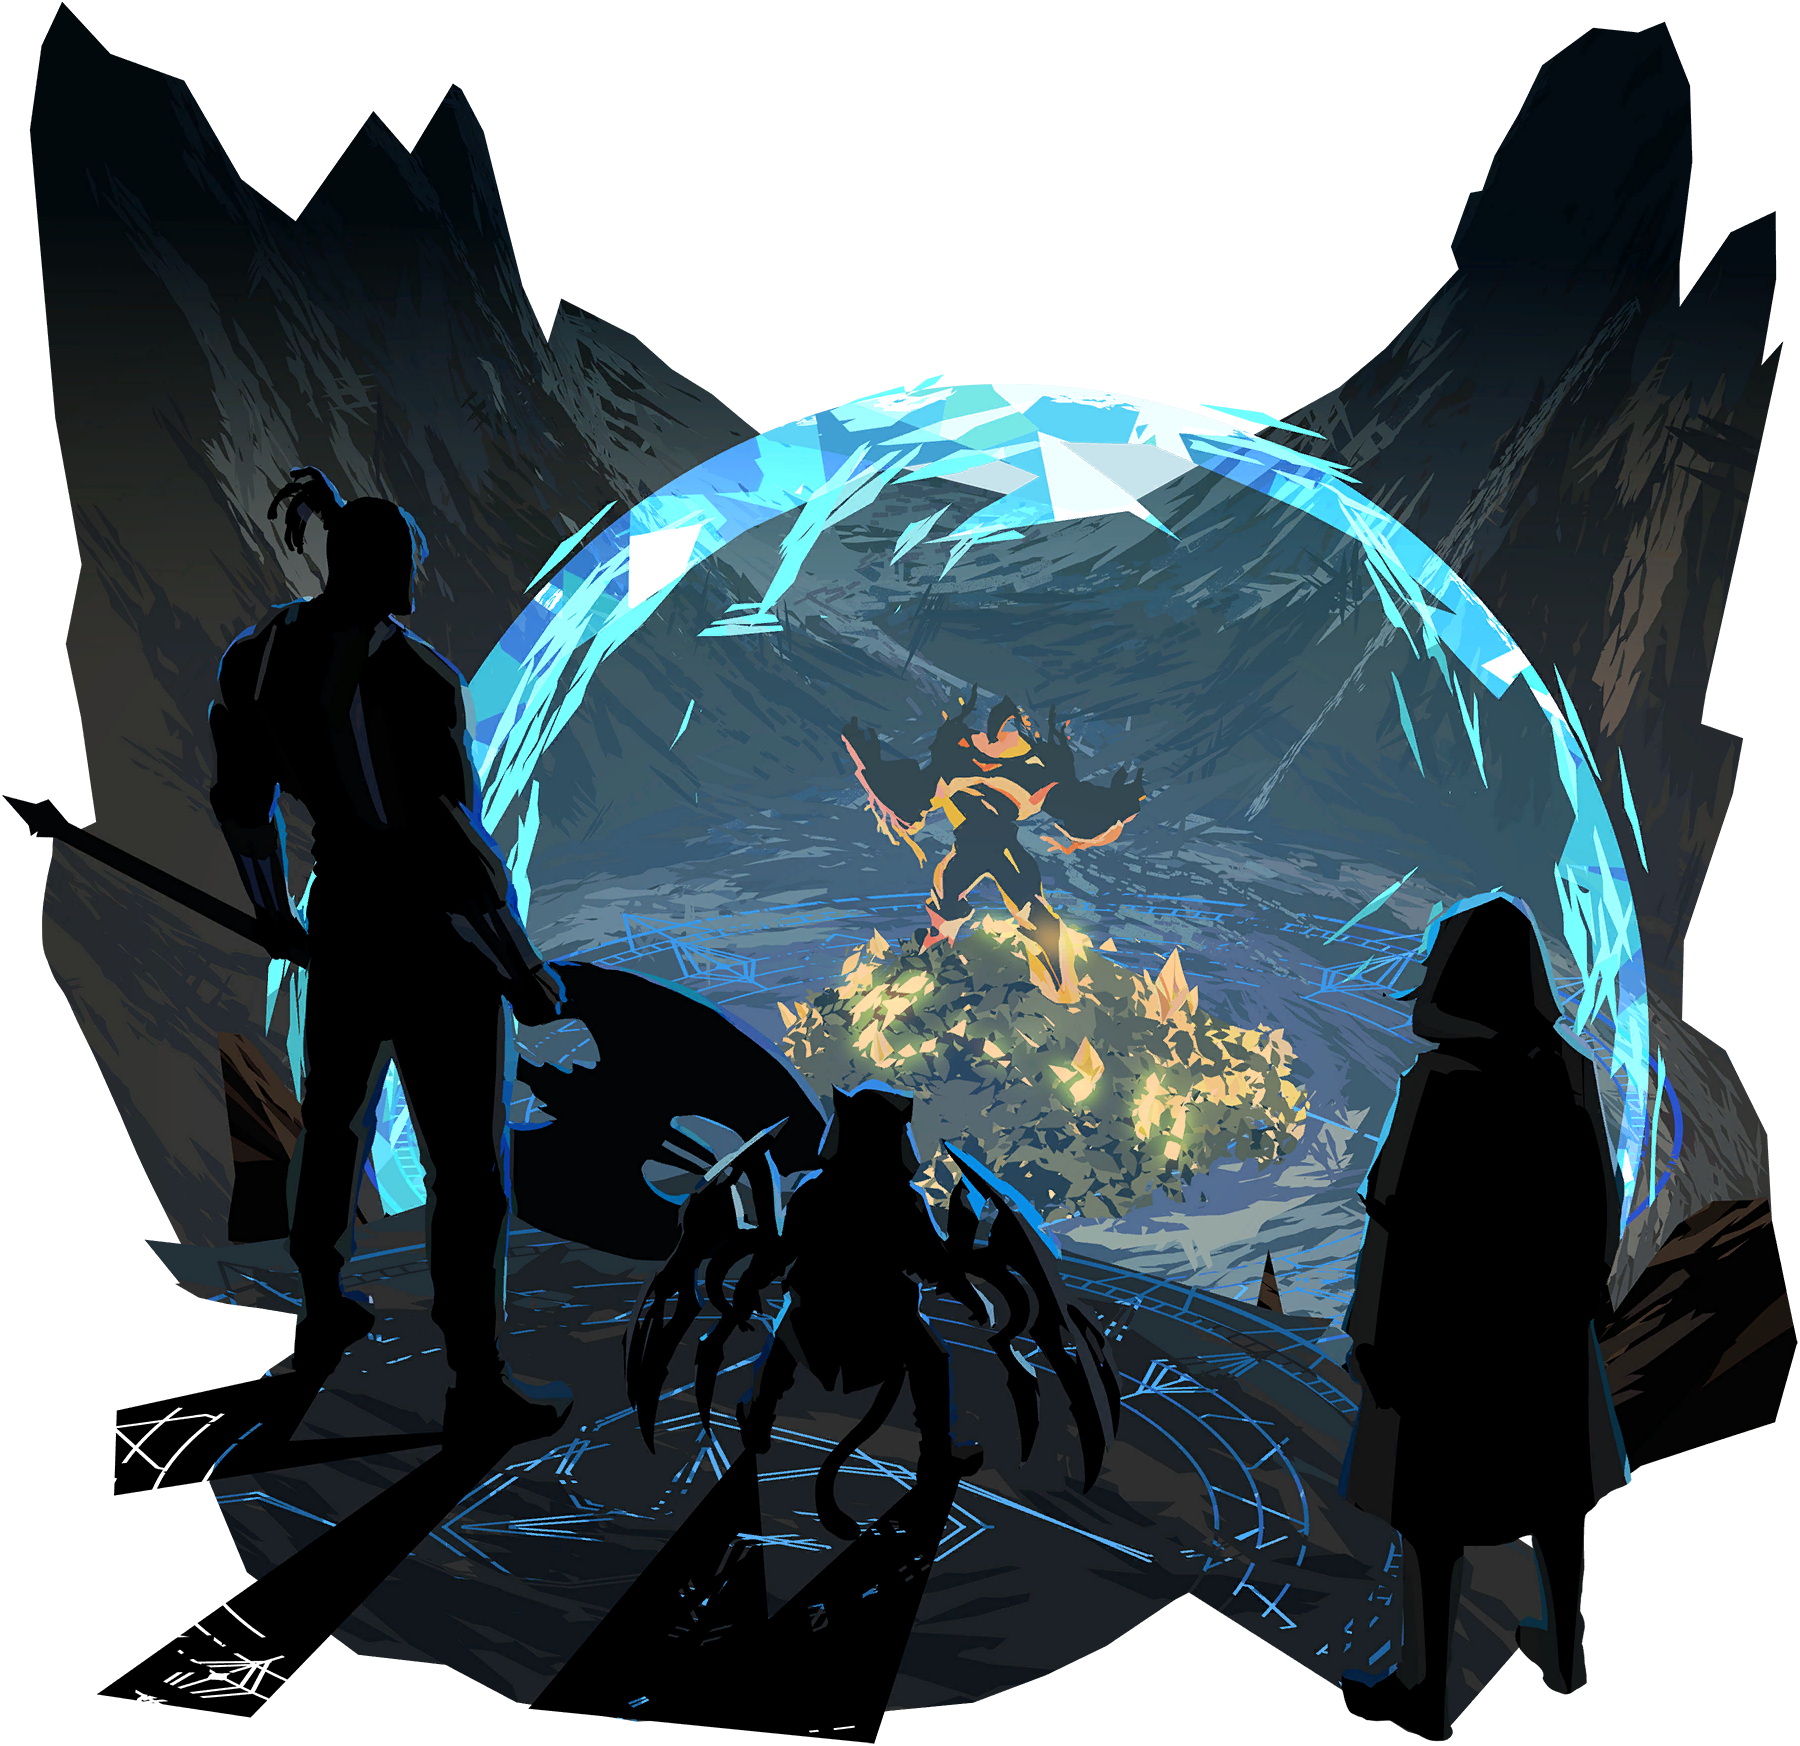 Trial: Single Combat or Trial: Rematch) |
| 10 | 2 | Pooled | Fixed The Campfire (Second Campfire) |
| 11 | 2 | Pooled (Boss) | No crossroads; Floor 11 Act Boss (Fire Dragon, Frost Dragon, or Poison Dragon) |
Campaign stages scale across three difficulty tiers: Tier 1 covers Base and  Difficulty: C, Tier 2 covers
 Difficulty: B,
 Difficulty: A, and
 Difficulty: S, and Tier 3 covers
 Difficulty: SS and
 Difficulty: SSS. On modifier-choice floors, taking an enemy penalty from
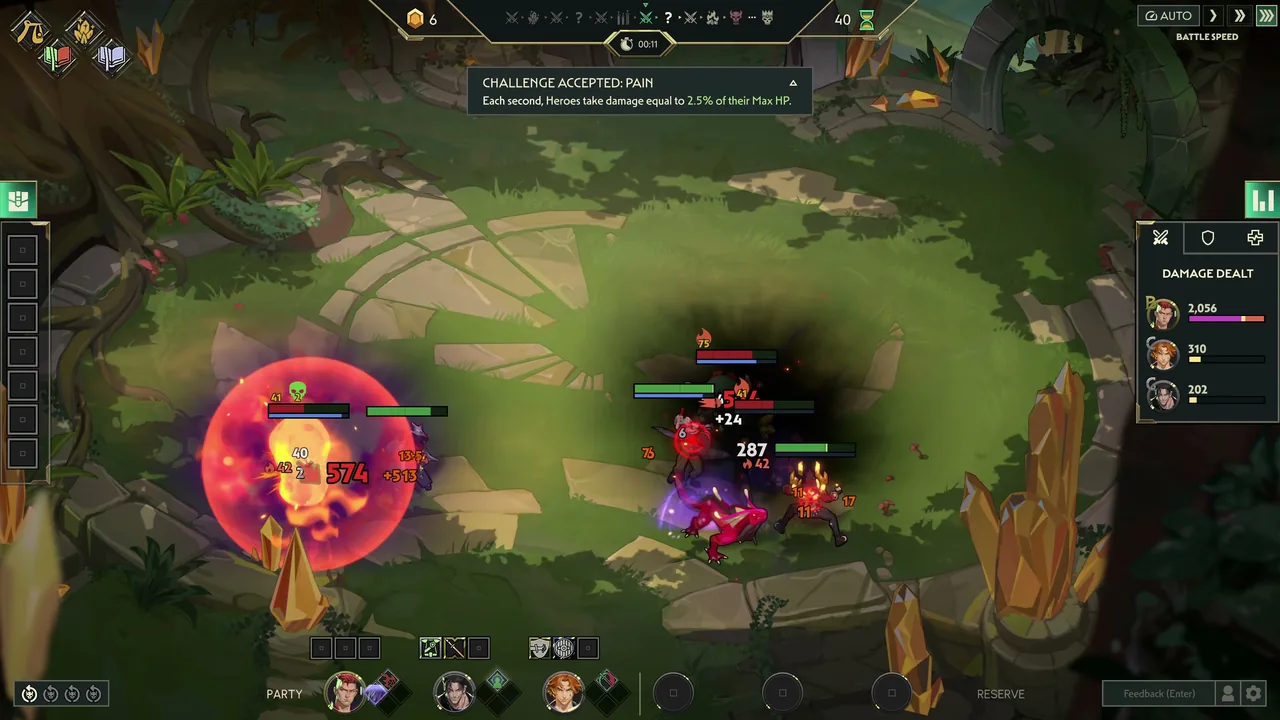
Elite 1 Enemy Relics (Rapid Growth, Steady Growth, Pain, Improvidence, or Decay) grants a Rare relic, while Elite 2 Enemy Relics upgrades the reward pool to Epic relics.
When planning crossroads detours around early events, see the dedicated The Altar event guide and The Void Beast event guide.
Summary Boss Table
Every Floor 5 miniboss and Floor 11 Act Boss has three staged stat profiles matching the three difficulty tiers, plus an SSS Act Boss relic that activates in Difficulty: SSS.
| Boss | Floor | Max HP (T1 / T2 / T3) | Attack / Magic (T1 to T3) | Active and passive | SSS relic |
|---|---|---|---|---|---|
| Demon | 5 | 13,560 / 16,620 / 15,170 | 25 to 32 Attack / 0 Magic | Anger,  Fury | Demon's Fury |
| Hydra | 5 | 12,910 / 15,830 / 15,830 | 58 to 74 Attack / 0 Magic | Venomous Bite,  Three Heads | Hydra's Healing |
| Fire Dragon | 11 | 100,000 / 143,320 / 132,300 | 55 to 81 Attack / 73 to 108 Magic | Flame Breath,  Flaming Attacks | Fire Dragon's Flame |
| Frost Dragon | 11 | 93,330 / 119,090 / 137,810 | 66 to 97 Attack / 88 to 129 Magic | Frost Breath,  Freezing Attacks | Frost Dragon's Chill |
| Poison Dragon | 11 | 124,000 / 187,420 / 187,420 | 63 to 104 Attack / 84 to 138 Magic | Poison Breath,  Toxic Attacks | Poison Dragon's Venom |
Floor 5 Minibosses
Floor 5 houses six MiniBoss stages split evenly between Demon (Demon, Demon, Demon) and Hydra (Hydra, Hydra, Hydra). Both are melee enemies with 1 attack range, 0.5 base attack speed, 25 Crit, 0 Defense, 100 Max Mana, 10 Mana Regen, and active ability casting enabled at start.
Demon
- Variants and stats: Demon (Tier 1) has 13,560 Max HP, 25 Attack, and 18 Attack Speed; Demon (Tier 2) rises to 16,620 Max HP with 25 Attack and 18 Attack Speed; Demon (Tier 3) has 15,170 Max HP, 32 Attack, and 24 Attack Speed, all with 100 base attack damage.
- Active ability (Anger): Grants
 Shield equal to 10% of Max HP and applies
 Burn equal to 33% of Attack to every Hero.
- Passive ability (Fury): Upon dropping to 50% Max HP, Demon gains 25 Attack Speed, a 25% Max HP shield, and inflicts 100% Attack as Burn across all Heroes; Patch 0.5.14 fixed an issue where this shield could trigger a second time at 0 HP.
- SSS modifier (Demon's Fury): Once any enemy drops to half Max HP, that enemy receives 20 Attack Speed plus a 10% Max HP shield.
Hydra
- Variants and stats: Hydra (Tier 1) has 12,910 Max HP, 58 Attack, and 58 Attack Speed; Hydra (Tier 2) has 15,830 Max HP, 62 Attack, and 62 Attack Speed; Hydra (Tier 3) keeps 15,830 Max HP while raising Attack and Attack Speed to 74, all with 50 base attack damage.
- Active ability (Venomous Bite): Deals 150% Attack damage and inflicts 2 plus 1/20 of Attack as
 Poison for each remaining head.
- Passive ability (Three Heads): Hydra sheds a head below 66% and 33% Max HP, performs one extra 33%-damage attack per head beyond the first, and gains 15 HP/S for every remaining head.
- SSS modifier (Hydra's Healing): At the start of combat, every enemy gains 1 HP/S for each 150 Max HP it has.
The Three Act Dragons
Floor 11 features nine Boss stages hosting the three Act Boss dragons across Tiers 1, 2, and 3. All three Dragons are ranged bosses with 8 attack range, 4 projectile speed, 0.5 base attack speed, 25 Crit, 0 Defense, 100 Max Mana, 10 Mana Regen, and active ability casting enabled at start, with base attack damage climbing from 300 in Tiers 1–2 to 425 in Tier 3.
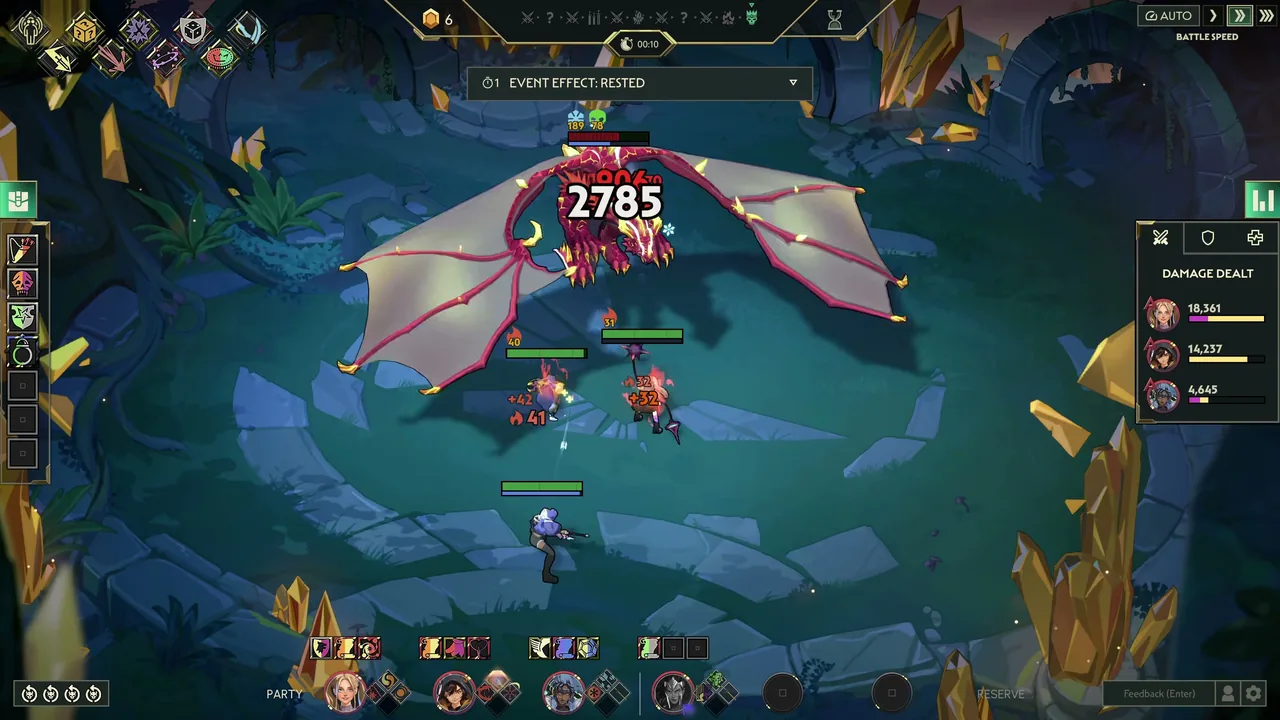
Fire Dragon
Fire Dragon appears in Fire Dragon (Fire Dragon), Fire Dragon (Fire Dragon), and Fire Dragon (Fire Dragon). Its Max HP shifts from 100,000 in Tier 1 to 143,320 in Tier 2 and 132,300 in Tier 3, while its Attack and Magic stay at 55 and 73 (with 36 Attack Speed) in Tiers 1–2 before jumping to 81 Attack, 108 Magic, and 54 Attack Speed in Tier 3.
Its active ability Flame Breath hits every Hero for 200 plus 200% Magic damage and applies 15 plus 60% Magic Burn, while Flaming Attacks makes auto attacks inflict 3 plus 1/10 Magic Burn and splash for 66% damage onto Heroes adjacent to the primary target. In SSS, Fire Dragon's Flame applies accumulating Burn to all Heroes at combat start and permanently adds 4 Burn after each victory. For positioning and counterplay details, read how to beat Fire Dragon.
Frost Dragon
Frost Dragon appears in Frost Dragon (Frost Dragon), Frost Dragon (Frost Dragon), and Frost Dragon (Frost Dragon). Max HP scales from 93,330 in Tier 1 to 119,090 in Tier 2 and 137,810 in Tier 3; Attack, Magic, and Attack Speed sit at 66, 88, and 44 in Tiers 1–2 and reach 97, 129, and 64 in Tier 3.
Its active Frost Breath deals 200 plus 200% Magic damage and inflicts 10 plus 40% Magic  Frost team-wide, paired with Freezing Attacks adding 2 plus 1/15 Magic Frost per auto attack plus 66% cleave damage to adjacent Heroes. Its SSS relic, Frost Dragon's Chill, opens every fight with Frost on your whole team and gains 3 permanent stacks per combat win. See how to beat Frost Dragon for build adjustments against its Attack Speed and Defense shred.
Poison Dragon
Poison Dragon appears in Poison Dragon (Poison Dragon), Poison Dragon (Poison Dragon), and Poison Dragon (Poison Dragon). It carries the largest health pool of the trio at 124,000 Max HP in Tier 1 and 187,420 Max HP in Tiers 2 and 3, with 63 Attack, 84 Magic, and 42 Attack Speed in Tiers 1–2 rising to 104 Attack, 138 Magic, and 69 Attack Speed in Tier 3.
With Poison Breath, Poison Dragon deals 200 plus 200% Magic damage and inflicts 5 plus 20% Magic Poison to all Heroes, while Toxic Attacks applies 1 plus 1/20 Magic Poison on auto attacks alongside 66% adjacent cleave damage. On SSS, Poison Dragon's Venom applies starting Poison to all Heroes and increases by 2 stacks after every combat victory. Check how to beat Poison Dragon and our SSS difficulty modifiers guide for full SSS preparation.
Event Fights and Trials
Optional combat crossroads appear on Floors 3, 6, and 9 (Combat Event 1, Combat Event 2, and Combat Event 3), and trial descriptions state that death or defeat in trial combats carries no penalty. You can inspect every formation and enemy placement on the event fights database page.
Three fight-mode groups (Crab, SwampGiant, and Mimic) appear across the Chunk 1, Chunk 2, and Chunk 3 pools (10101 through 10303) and grant identical Shard rewards on victory or defeat:
| Fight mode group | Mode type | Thresholds (T1 / T2 / T3) | Shard rewards (T1 / T2 / T3) |
|---|---|---|---|
| Crab | DamageDealt | 2,500–5,000 / 4,000–8,000 / 12,500–50,000 | 10–30 / 10–50 / 20–40 |
Swamp Giant (SwampGiant) | Survival | 20s / 40s / 60s across all tiers | 10–30 / 10–50 / 20–40 |
| Mimic | OneOnOne | Single duel (no thresholds) | 30 / 50 / 40 |
Meanwhile, EventFight stages span three tiers (difficulty_index 91, 92, and 93), covering the four playable trials and Floor 6 boss rematches:
- Single Combat (
1v1Fight):Trial: Single Combat (Forest Golem variant through Forest Golem variant on Floors 4, 7, and 9) pits one Hero against a solo Forest Golem. - Endurance (
SurvivalFight): Trial: Endurance (Unnamed enemy, Mushroom Archer variant through Unnamed enemy, Mushroom Archer variant on Floors 4 and 8) deploys 2 Mushroom Tank enemies and 3 Mushroom Archer enemies to test survival duration. - Demolition (
DealDamageFight): Trial: Demolition (Turtle variant through Turtle variant on Floors 5 and 9) fields a single armored Turtle with 2,250 to 9,000 Max HP. - Boss rematches (
HydraFightandDemonFight): Matching Trial: Rematch for a rare relic, Floor 6 hosts Hydra variant, Hydra variant, and Hydra variant (HydraFight, 26,350–33,310 Max HP and 138–165 Attack) alongside Demon variant, Demon variant, and Demon variant (DemonFight, 24,060–30,410 Max HP and 81–103 Attack).
The Red Rift and Rift Seal Mechanics
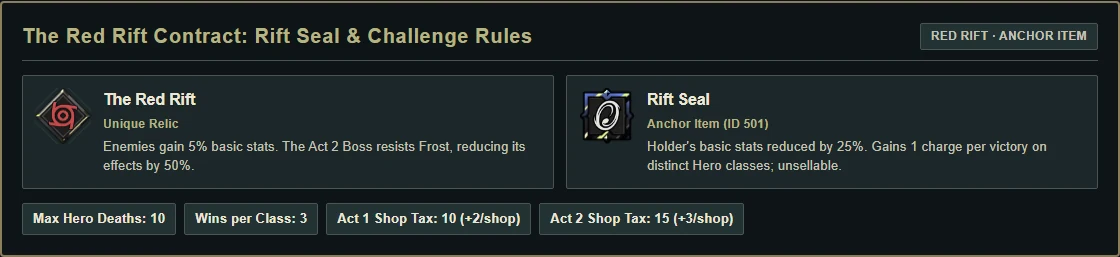
The Red Rift is a high-stakes contract mode in which enemies receive increased stats ( The Red Rift grants +5% basicstat to enemies), runs do not continue into Endless Mode, and failing any mission ends the run and resets your win streak. Sealing the Red Rift requires defeating the final boss after completing all 6 challenges:
- Charge the
 Rift Seal across Heroes of different classes.
- Keep total Hero deaths under the mission cap of 10.
- Purchase the Act 1 Key Fragment from the shop, where its price starts at 10 Shards and increases by 2 Shards per shop.
- Purchase the Act 2 Key Fragment from the shop, starting at 15 Shards and increasing by 3 Shards per shop.
- Skip a Campfire reward.
- Win a Challenge Combat and skip its reward.
Rift Seal Rules and Patches
The Rift Seal reduces all basic stats on its wearer by 25%, requires equipping to a Hero before every fight, and cannot be sold while the Rift Sealing Protocol is active. Winning a combat adds one charge whenever the wearer belongs to an uncharged class, with multi-class Heroes applying charges from top to bottom until the Rift Seal breaks upon reaching full charge.
Patch 0.5.6 made the Rift Seal auto-equip at the start of a run from your second Red Rift attempt onward. Earlier, Patch 0.5.3 gave Niklas a bonus item slot on his signature passive so he could rejoin the Red Rift starting Hero pool without devouring the Rift Seal in his leftmost slot, and Patch 0.5.11 resolved an issue where Crests or Glyphs held by reserve Heroes failed to update Rift Seal progress.
Act 2 Boss 50% Frost Resistance
In Patch 0.5.4, the Act 2 Boss in Red Rift gained a 50% resistance to Frost, which is also printed directly on The Red Rift. In Red Rift runs, the Act 2 Boss cuts Frost effectiveness in half, requiring 4 Frost stacks rather than 2 to lower its Defense and Attack Speed by 1.
Boss Tokens and the Win Streak Leaderboard
Boss Tokens are earned whenever you reach an act's boss fight, and Patch 0.5.2 doubled the reward from 1 to 2 Boss Tokens per boss reached. Opening a run spends a Boss Token to attach a random bonus to each of your three starting Hero options, extra tokens let you reroll all 3 bundles together, and Patch 0.5.7 fixed saving during initial Hero selection so exiting early no longer forfeits a Boss Token. Third and fourth Boss Token slots unlock through progression experience.
Completing all 6 challenges and defeating the final boss records your streak on the Win Streak Leaderboard, with Patch 0.5.7 adding your highest streak and total wins to the Red Rift screen. When Patch 0.5.4 moved the Red Rift leaderboard to weekly patch resets, Patch 0.5.14 established automatic weekly resets across leaderboards every Tuesday at 7pm CEST. For Endless scoring and reset rules, read the Endless Mode and leaderboard guide.